Introduction
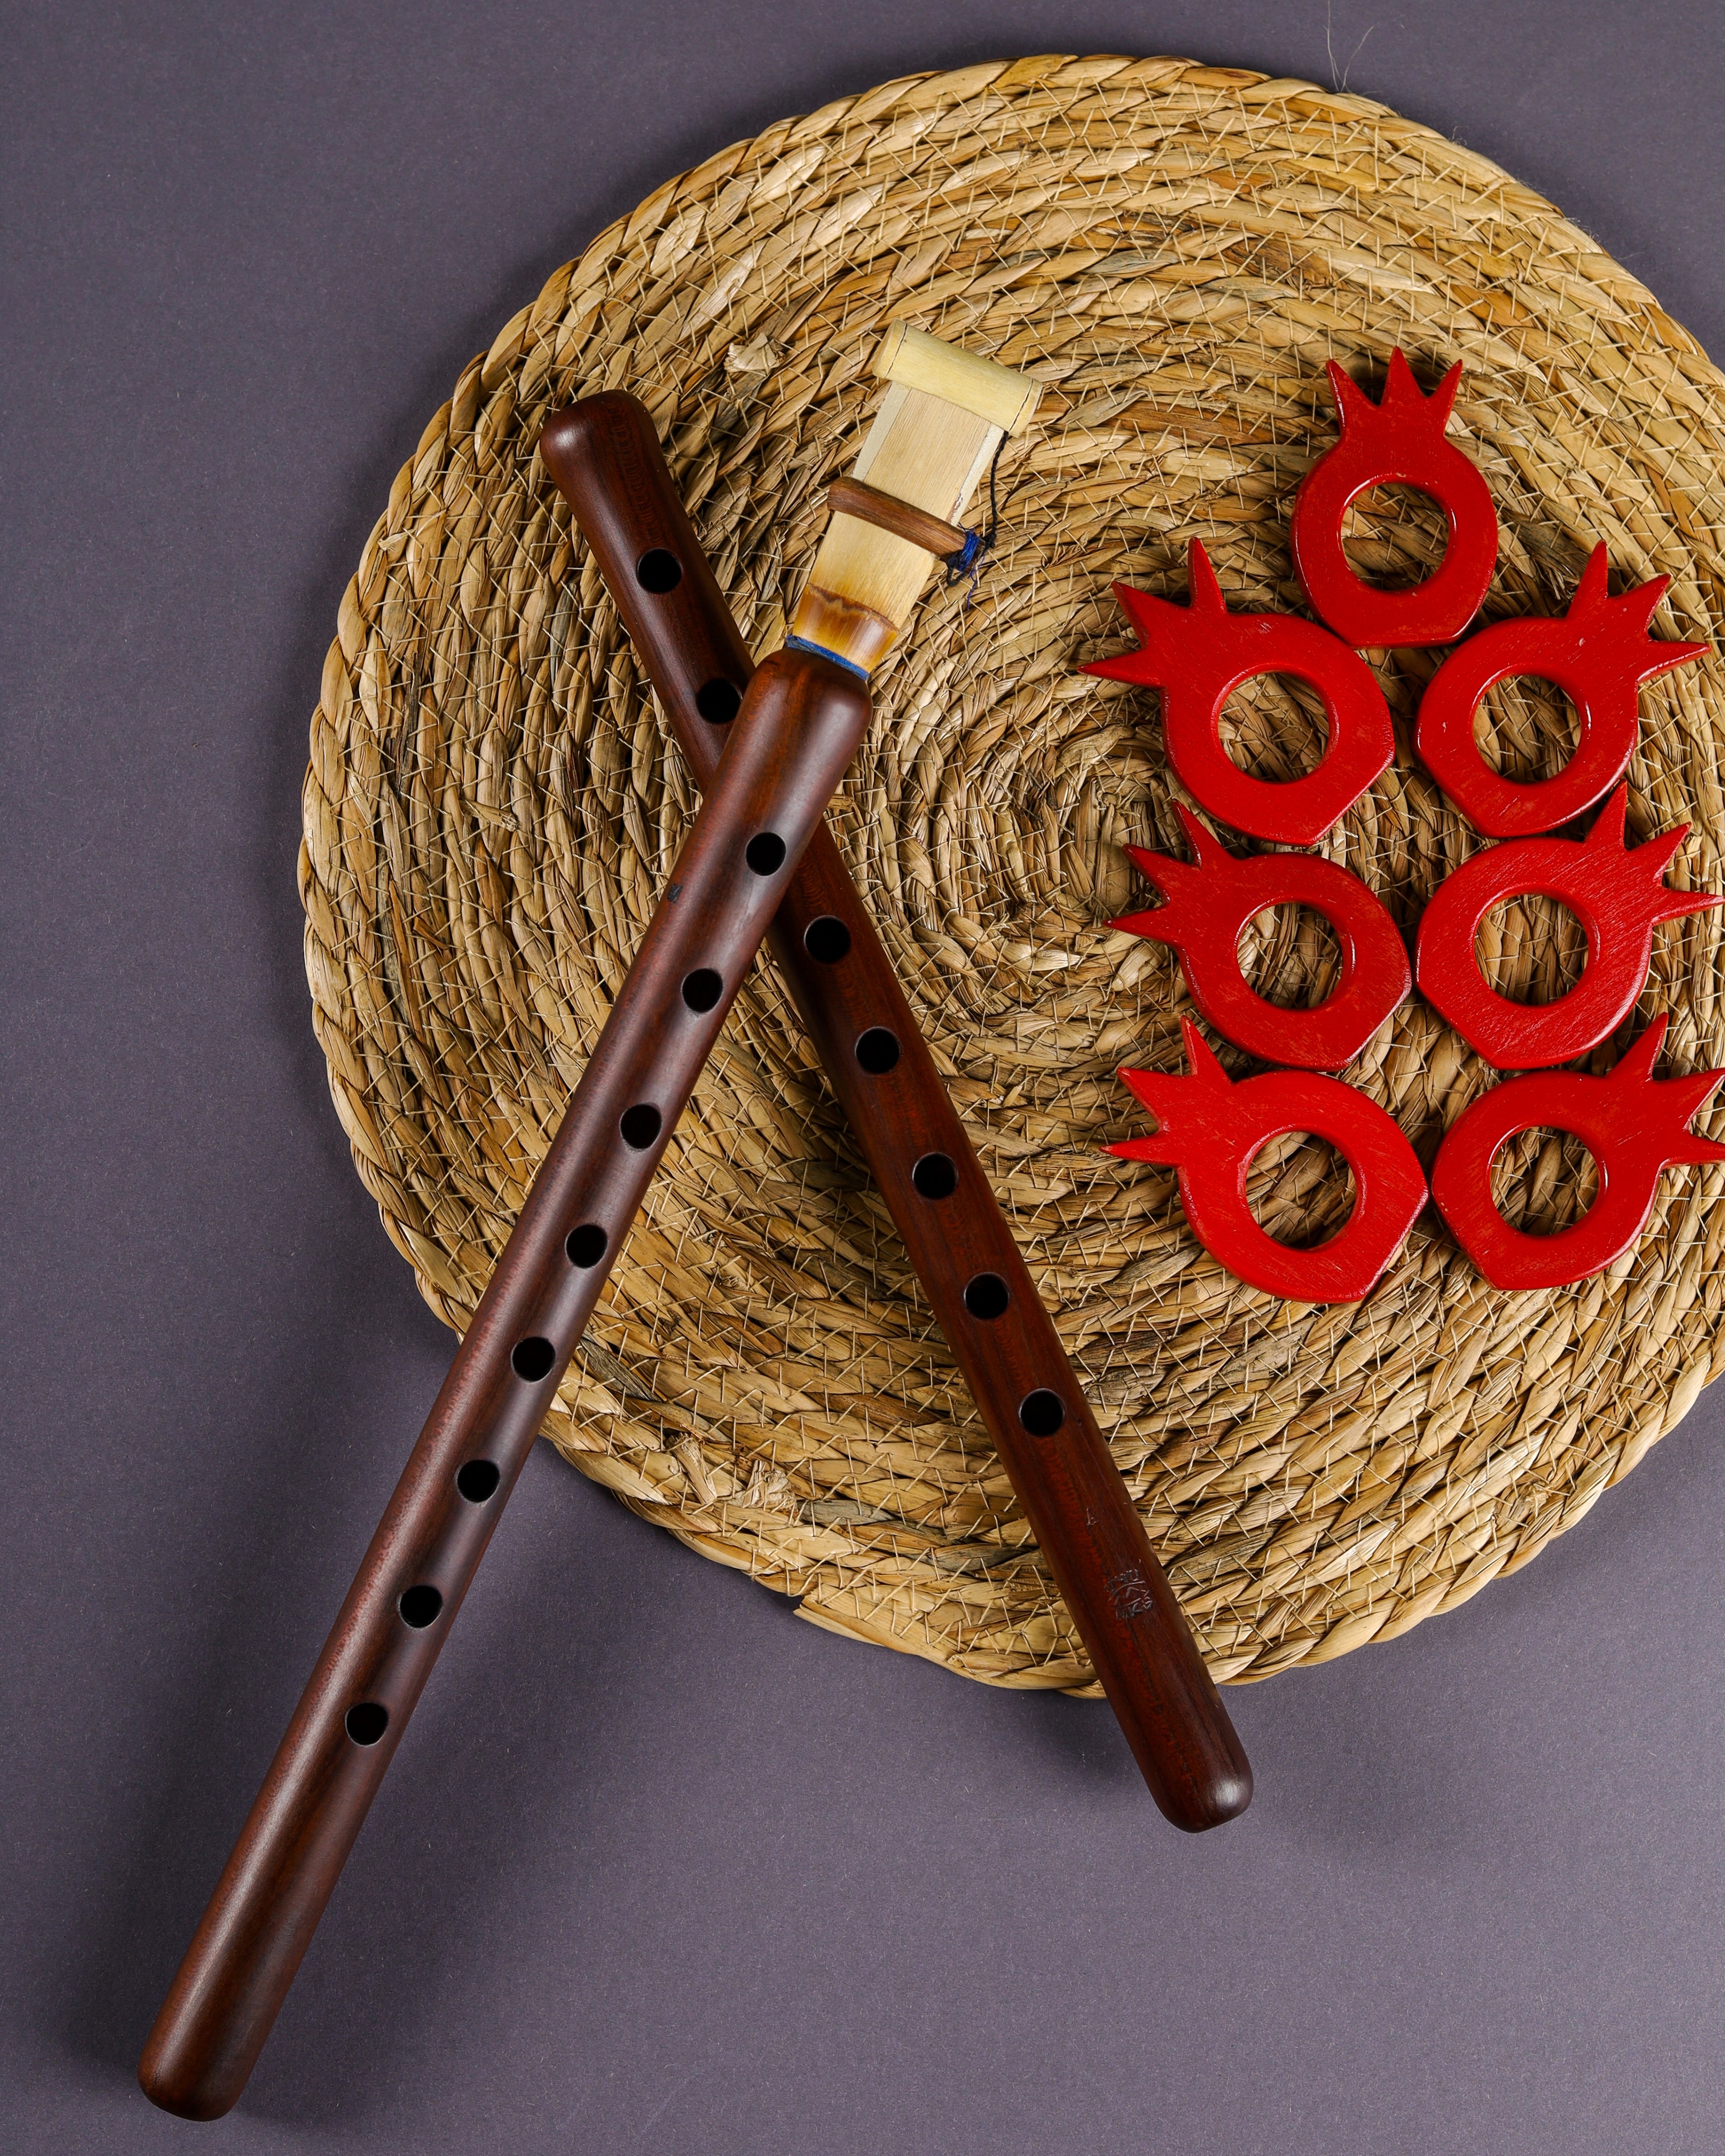
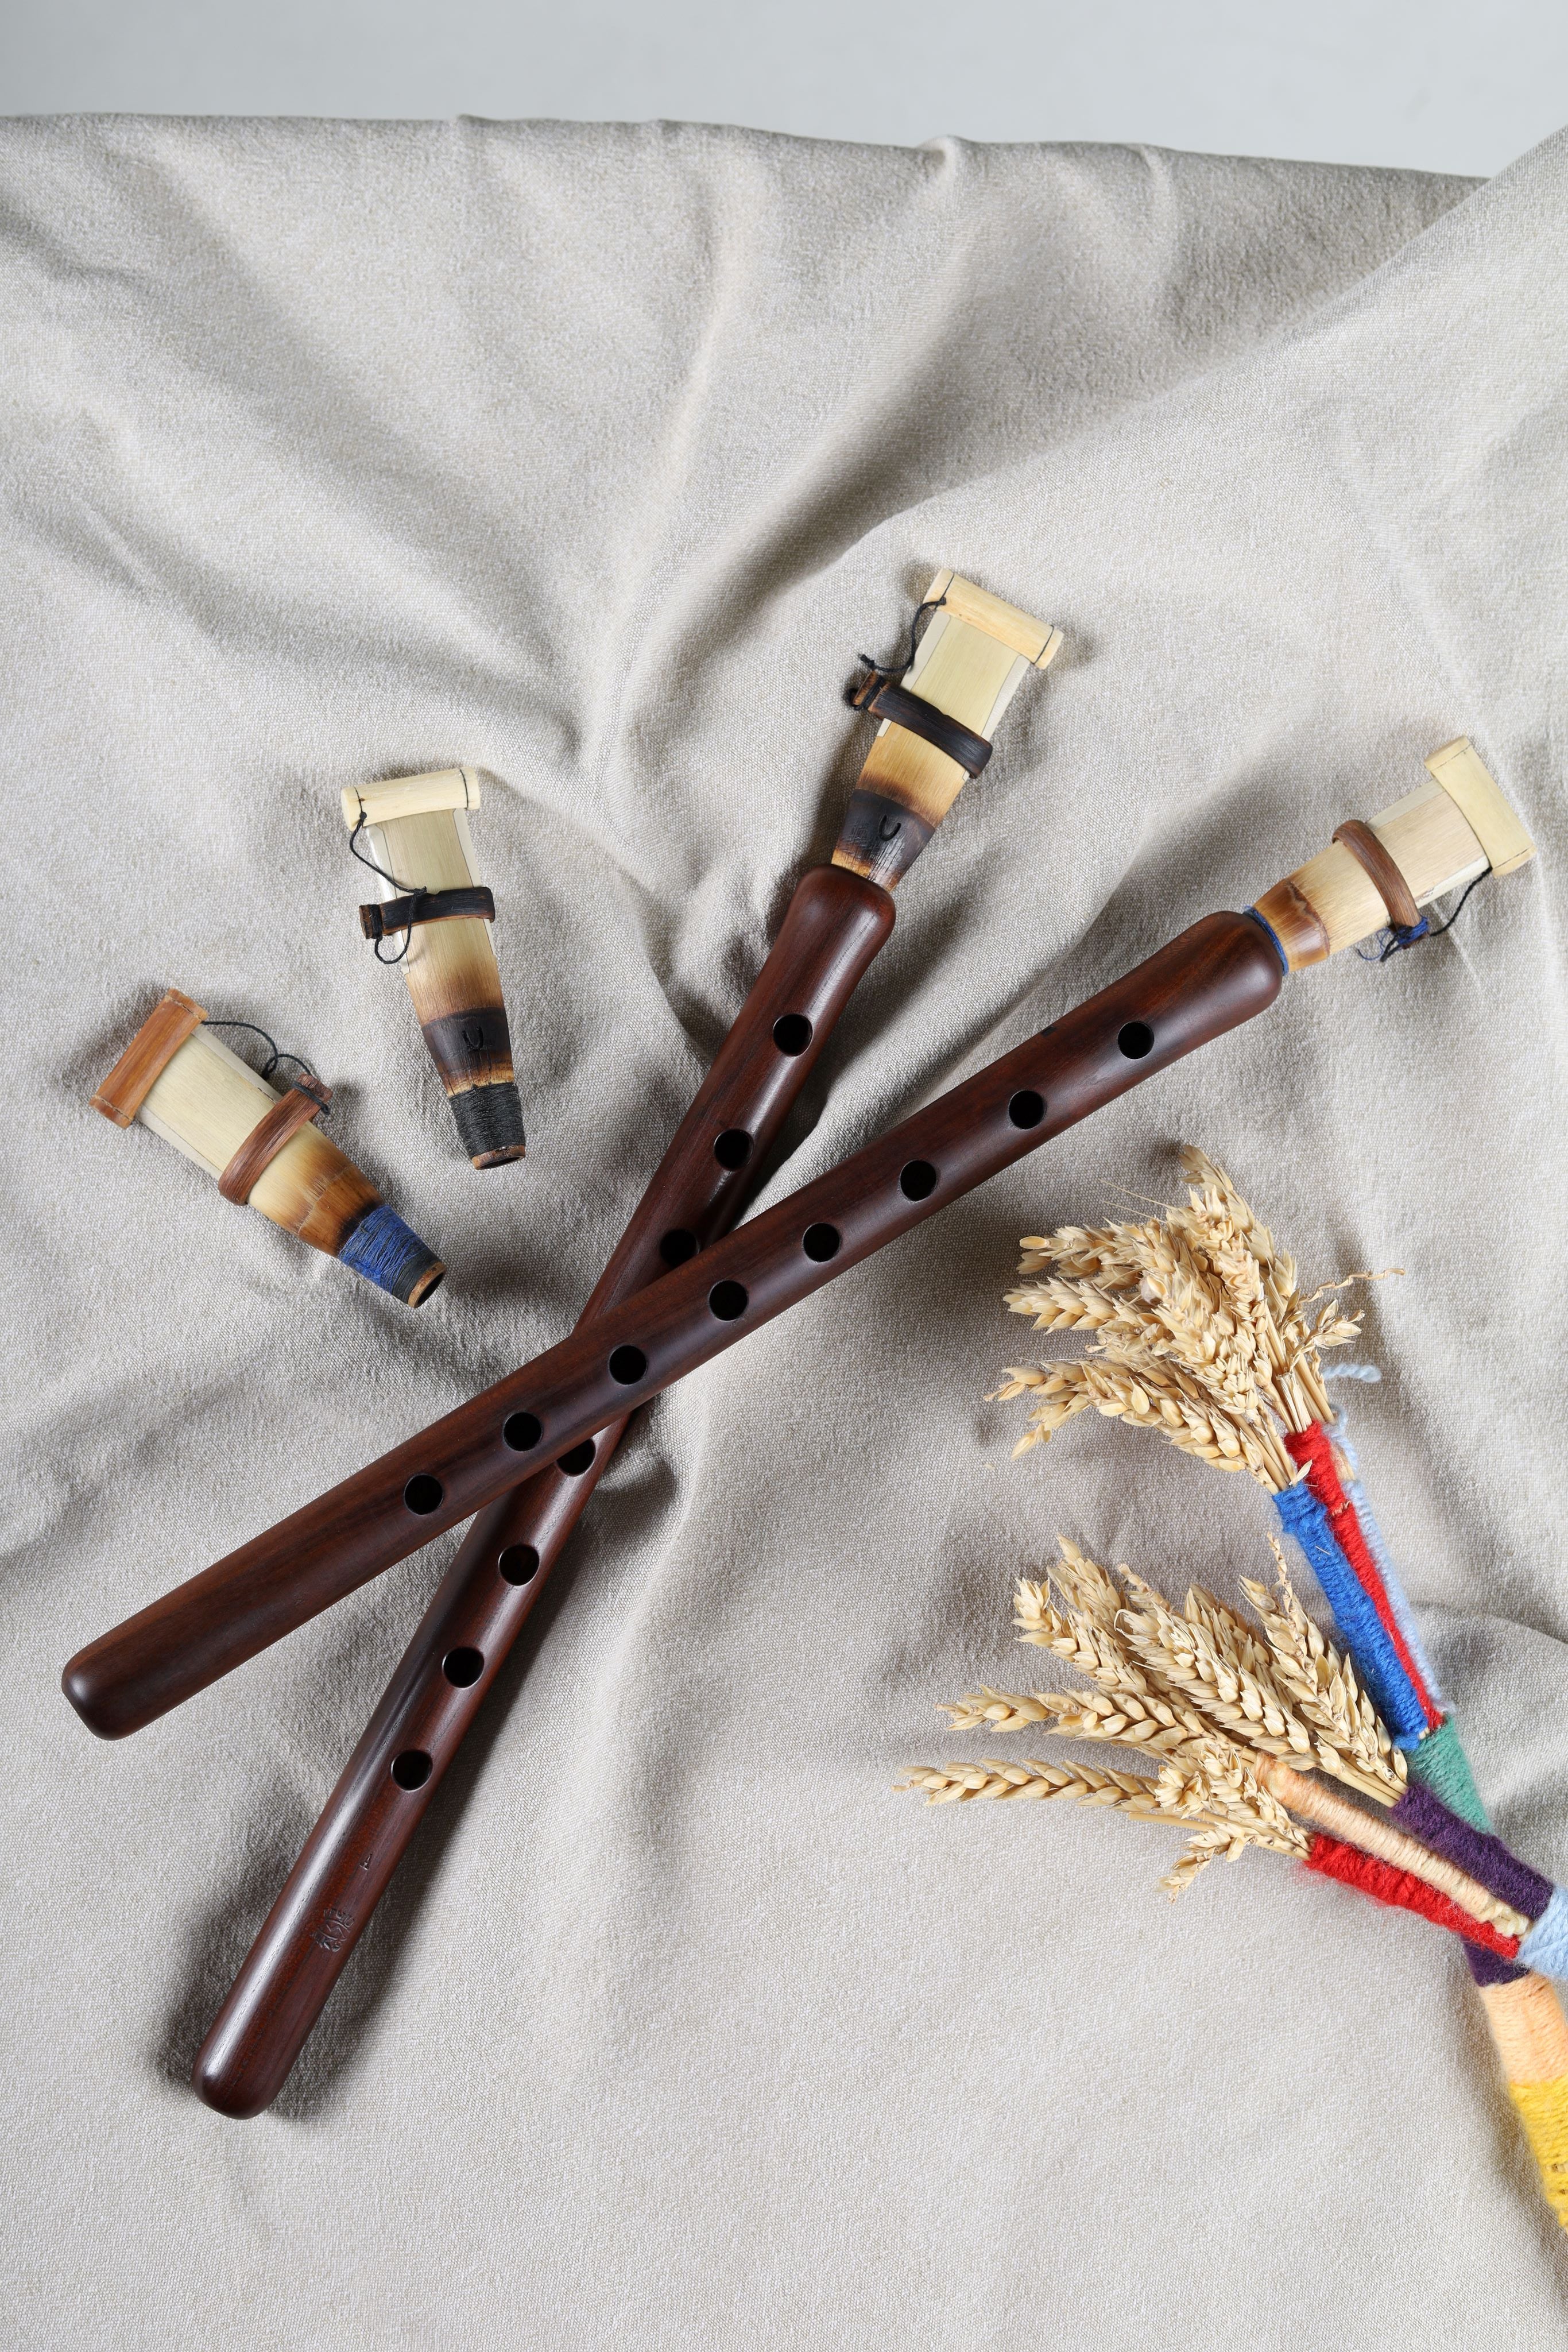
Called "Ghamish" (from the Turkish word kamış, meaning "reed") or "Yegheg" (in Armenian Եղեգ), the reed of the duduk is just as essential as the wooden body for producing its warm tone.
The duduk reed shares notable similarities with those of the oboe or bassoon, being composed of two flattened reed blades that vibrate under airflow to produce sound.
These blades originate from a single circular base, gradually tapering as they approach the mouthpiece. This type of reed is commonly referred to as a "double reed," unlike the single reeds found in instruments such as the saxophone or clarinet, which consist of only one reed blade.
Craftsmanship
As mentioned earlier, the duduk reed is crafted from reed plants, a wetland species that closely resembles bamboo but is larger in size. In Armenia, the preferred reed species for making duduk reeds is Arundo donax, typically harvested between October and February.
To craft these reeds, artisans select stems with a diameter ranging from 18 to 22 mm and a length of 8 to 10.5 cm. Once selected, the reeds undergo meticulous preparation, including partial removal of their bark. To achieve their final shape, the reeds are either immersed in hot water or treated with steam. This final step is crucial and involves the use of special clamps to precisely mold the reed into its definitive form.
The duduk reed consists of three distinct parts:
- The Body: The flattened reed with two blades extending from it.
- The Tuning Ring: Used to adjust the instrument's pitch.
- The Cap: Protects the reed's mouthpiece, which is known for its fragility.
The tuning ring and the cap are connected by a string, which musicians often leave hanging freely during performances.
Dimensions and Tuning of Reeds
Just like duduks, reeds come in various sizes to match the pitch of the instrument they are used with. When acquiring your duduk, it is important to ensure that a properly tuned reed is provided. Otherwise, the duduk will be out of tune due to the mismatch between the reed and the instrument.
For low-pitched duduks in F, G, A, and Bb, a standard reed is used. This is the most common type and measures approximately 10 cm.
For duduks in B, C, and C#, a shorter reed, around 9 cm, is required to fit the duduk perfectly.
For duduks in D and D#, a special reed of 8 cm is needed to ensure the duduk is properly tuned.
For bass duduks in A, the same reeds as those used for a traditional A duduk are suitable. The only difference lies in the need for a softer reed to facilitate playing on the bass duduk. Given the length of the instrument, musicians often prefer softer single reeds to avoid unnecessary fatigue during practice.
Reed Sound Quality
The sound quality of the duduk, renowned for its warm tone, depends largely on the quality of the reed used. Achieving superior sound quality relies on several key factors: meticulous preparation of the reed by a skilled artisan, proper treatment, and correct usage.
Reed Preparation by the Artisan
This step is crucial as some reeds may appear perfect visually but can have defects that are imperceptible to the naked eye. When preparing the reed for the duduk, the artisan focuses on two main aspects:
Tuning: Ensuring the instrument is properly tuned for orchestral use.
Ease of Play: Making the reed easy to play by carefully adjusting its superficial parts, often sanding the reed blades with abrasive paper if they are too thick to vibrate.
To achieve a warm and light sound, it is imperative to choose a reed made by an experienced artisan. Otherwise, the player might face frustration when handling a poorly crafted reed.
Reed Preparation by the Player
The final sound of the duduk also depends on how the reed is prepared before playing. Proper preparation, following the steps below, helps produce a warmer and more pleasant sound:
The duduk reed is made of two thin reed blades, which are extremely fragile. It is recommended to handle the reed from its hardened, blackened base rather than the upper part.
Important: These guidelines are specifically for new, dry reeds that may not open naturally. Ideally, reeds should be prepared naturally by blowing into them to create condensation, which humidifies them. Artificial humidification (e.g., soaking in water) may over-wet the reed, making it non-functional.
Steps for Preparing the Duduk Reed:
- With the mouthpiece closed, fill the reed with warm water from its base.
- Let the water sit in the reed for about 10 seconds, then drain it.
- Allow the reed to dry for 10–20 minutes.
- After 20 minutes, attach the reed to the duduk horizontally, ensuring your lips rest naturally without tilting your head.
- Remove the reed cap, and using the tuning ring, adjust the gap between the two reed blades to approximately 2 mm, making it easier to produce sound. (If the reed is too tight or too loose, sound production will be challenging. Adjust the gap according to your needs and abilities.)
- Some reeds may take longer to prepare than others. If the sound is not warm or soft enough after 20 minutes of drying, play a few notes and let the reed rest for another 10 minutes before checking again.
Note: The duduk is a handcrafted instrument with its own complexities and unique characteristics. Beginners may initially struggle with its sound, but it is important to understand that the iconic warm tone of the duduk depends not only on the quality of the instrument but also on the musician's mastery of breath control. For more details, refer to resources on breathing techniques for this instrument. (See: Breathing Techniques)
Proper Reed Usage
What does "proper usage" mean? After following the reed preparation steps, proper handling is essential. Correct usage involves positioning the reed on the lips and gently pushing it into the mouth until it touches your incisors. This isolates the reed and prevents air leaks. Since this practice can be challenging to explain in writing, we recommend learning from a teacher or watching an explanatory video on our YouTube channel.
Tips for Maximizing the Longevity of Your Duduk Reed:
Remove the reed from the duduk when it is not in use.
Loosen the tuning ring when the reed is at rest.
Cover the reed mouthpiece when not playing.
Avoid artificially humidifying the reed if it is already slightly open.
Handle the reed from the hardened, blackened base to prevent damage.
Reed Craftsmanship
Duduk reeds are often crafted by experts in the field. While some artisans can produce both duduks and reeds, it is advisable to seek specialists dedicated to duduk reed-making, as they possess greater expertise and experience, resulting in higher-quality reeds.
Their work involves locating reed plantations across Armenia, shaping the plant into reeds, adhering to traditional reed preparation methods, refining them for ease of play, and applying various other techniques. Crafting duduk reeds requires profound expertise and rare skills.
General Steps in Duduk Reed-Making:
- Harvesting Reeds: Artisans travel to regions favorable for reed growth, often along rivers, to collect suitable reeds for making duduk reeds.
- Preparing Reeds: The reeds are carefully selected and dried to remove moisture and ensure durability. Unnecessary parts are then removed, and the reeds are prepared for transformation.
- Shaping Reeds: Using specialized tools, artisans cut and shape the reeds into the traditional double-reed form characteristic of the duduk.
- Tuning and Refining: The reeds are precisely adjusted to achieve optimal tension and resonance. Artisans fine-tune the blade thickness, length, and width to produce the desired sound and facilitate playability.
- Finishing and Polishing: Finally, the reeds are sanded, polished, and inspected to ensure quality and aesthetics. Artisans ensure that the reeds are smooth and free from defects that could impact sound quality.
Each artisan may have specific techniques and methods passed down through generations. The process of crafting duduk reeds is complex, requiring time, patience, and deep expertise to produce high-quality reeds.
In this video, you can follow the various steps involved in making a duduk reed.

